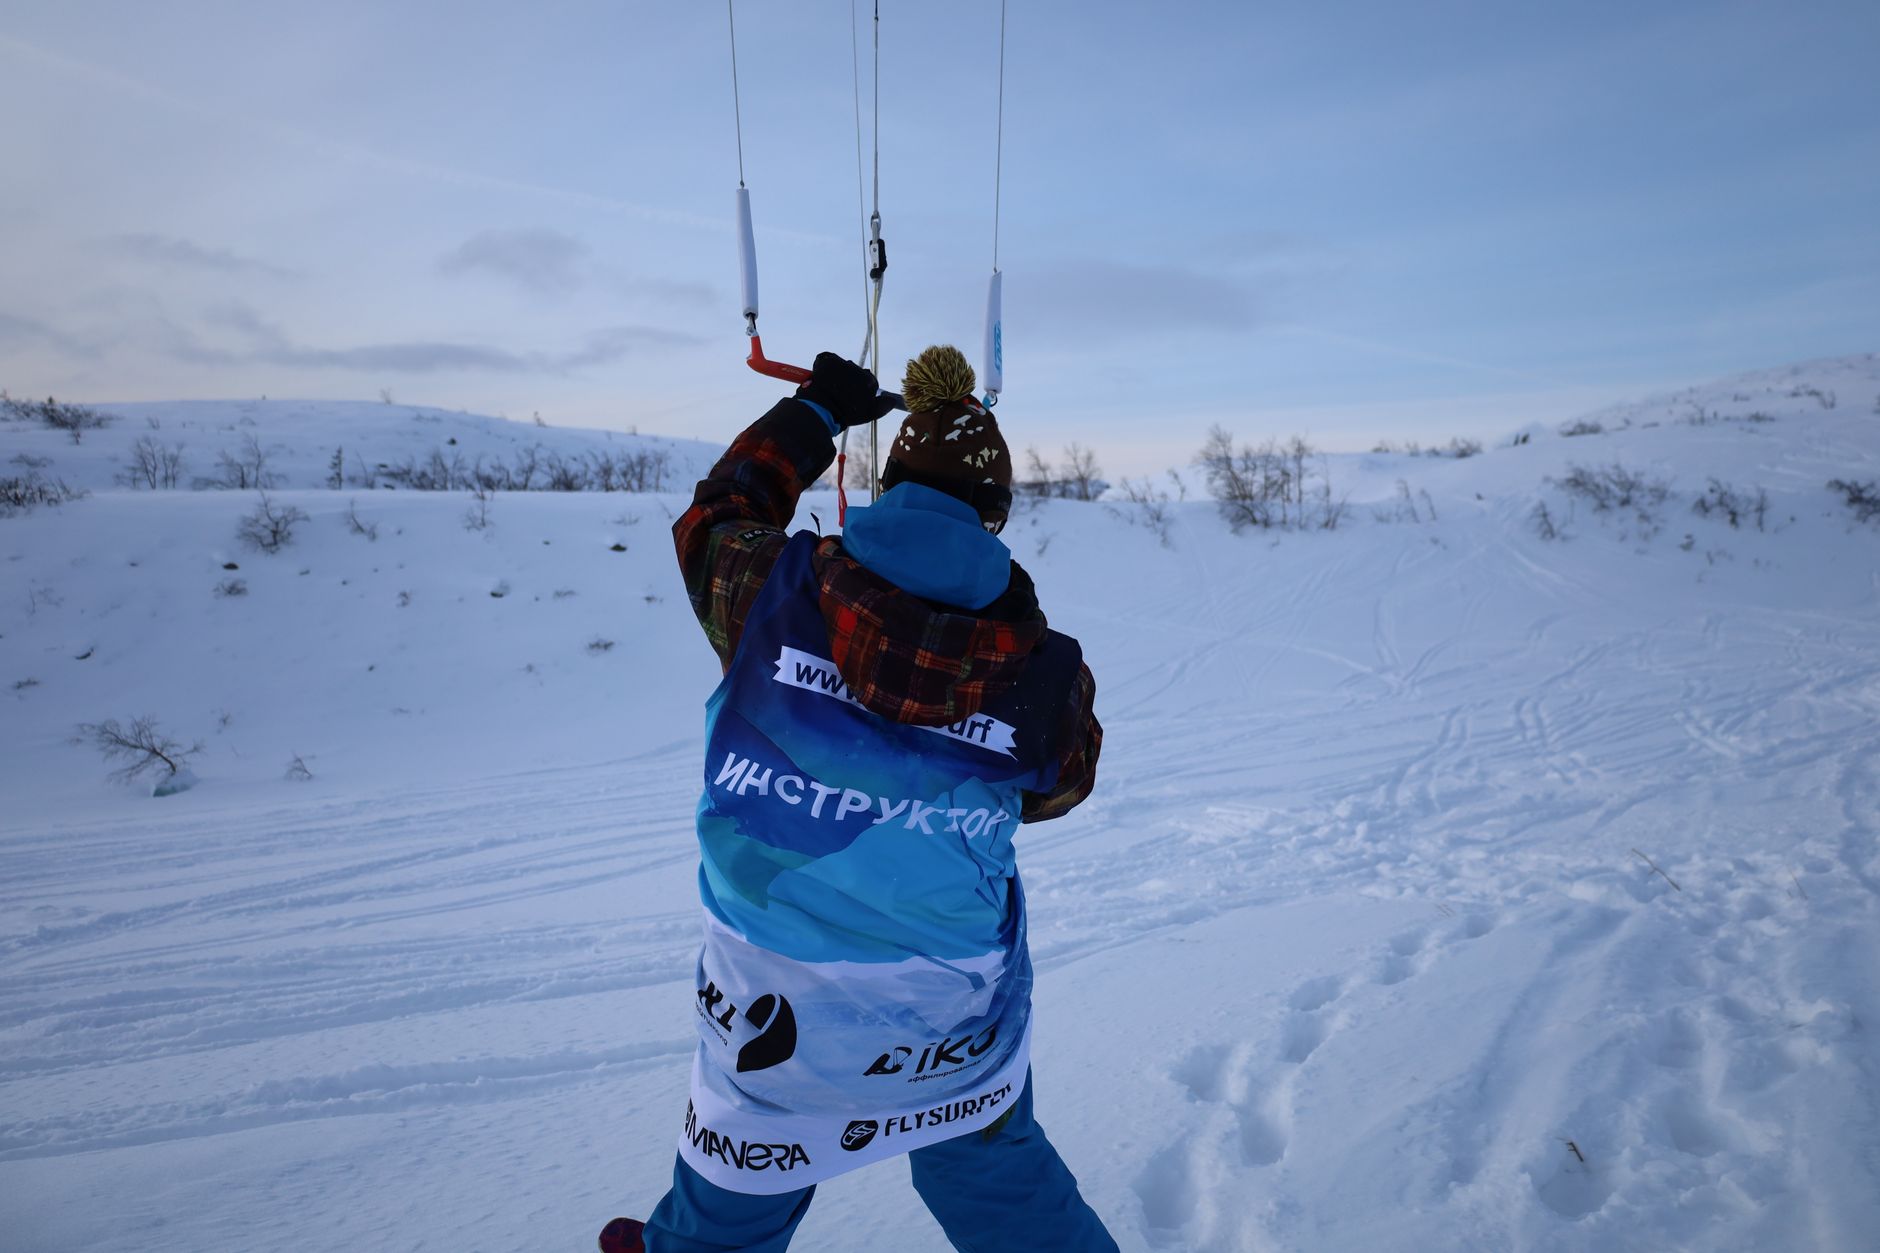
I still remember the first time I skied a blue run in the Alps, my knees trembling like jelly. That shaky start taught me that the right technique can turn a tumble into pure joy, and today I’m sharing every detail that helped me progress from wobble to carving confidence.
Start with feet hip‑width apart. A relaxed, centered stance gives you a stable platform that lets you feel the edge bite before you even think about turning, and it works on any snow texture. Your knees should stay softly bent, about 15–20 degrees, while your shins rest gently against the front of the boots, keeping the torso upright and the eyes looking downhill. When you keep the weight balanced—roughly 60 % on the forefoot and 40 % on the heel—you create a responsive pivot point that reacts to subtle terrain changes without over‑committing.
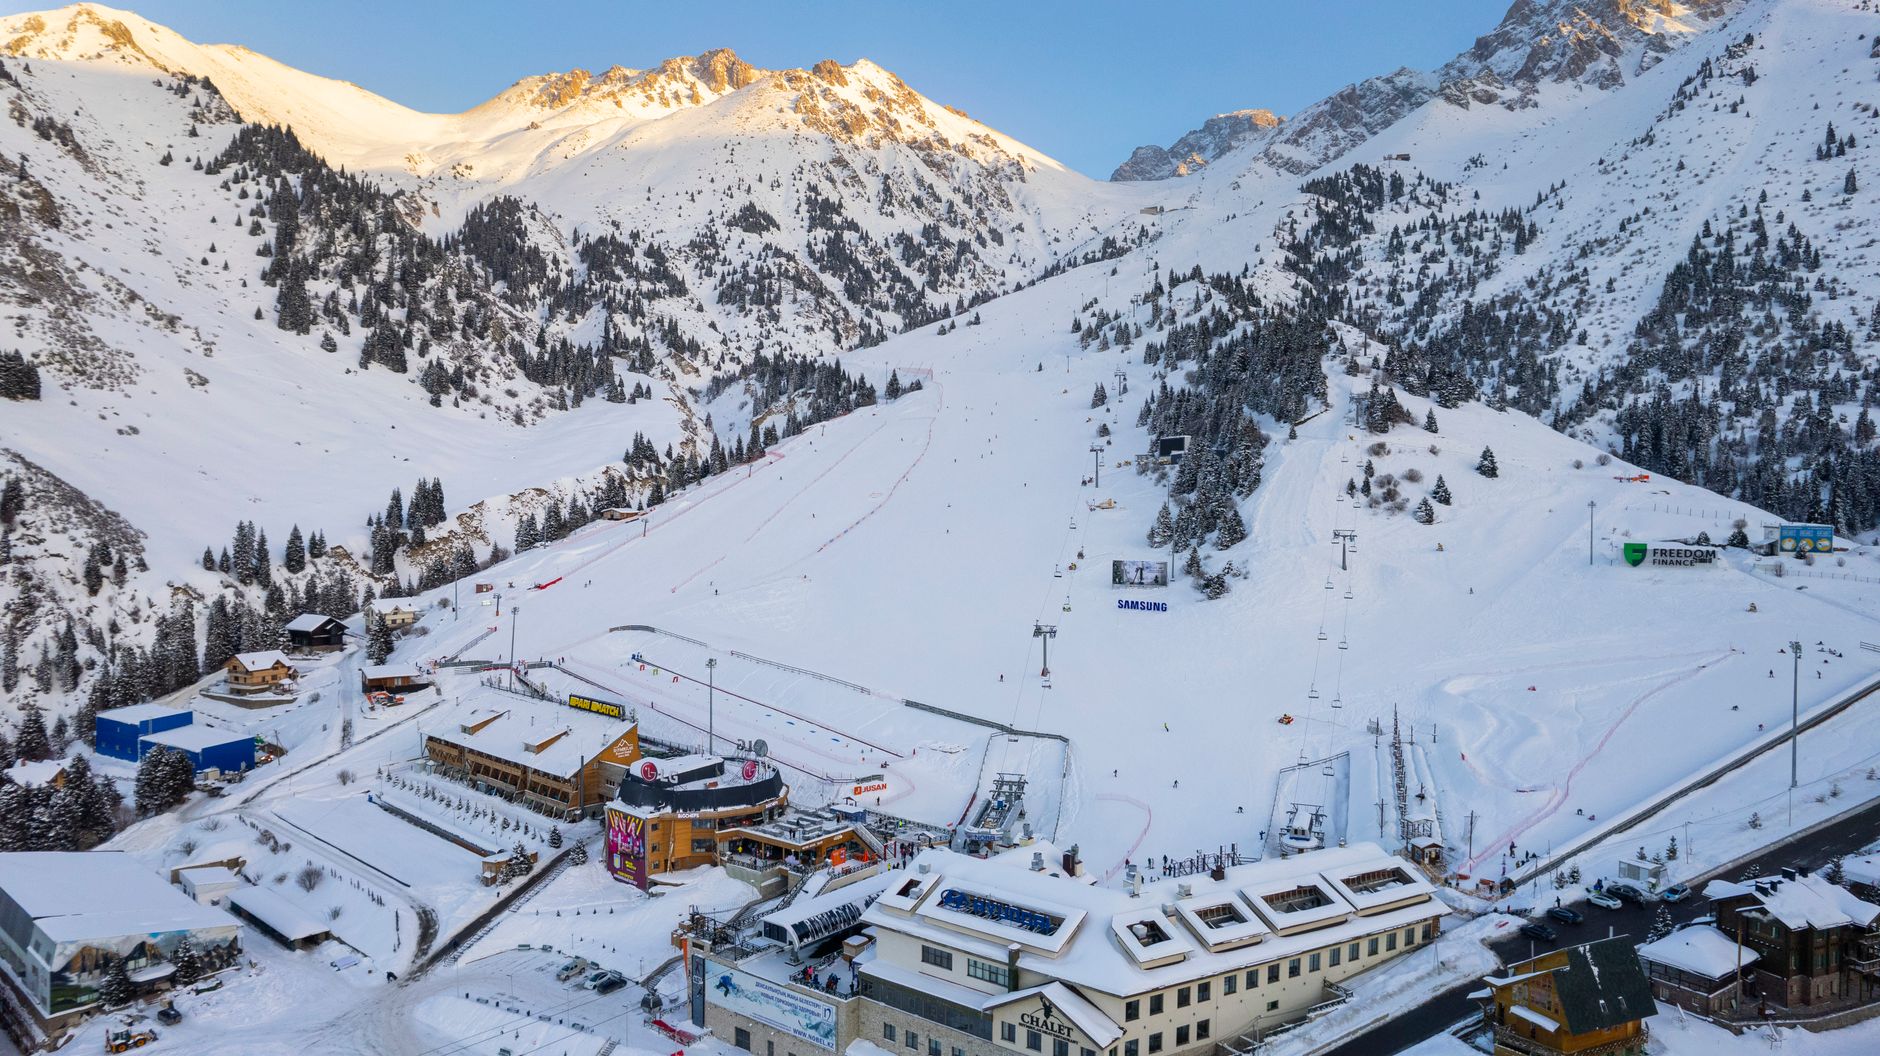
I learned this by doing a simple drill on a gentle slope at Alpine Resort (≈ 120 km from Munich Airport). I’d pause every ten meters, hold the position for 25 seconds, and feel the pressure shift from toe to heel; after three rounds the sensation became second nature. The key is to keep the shoulders quiet, the arms slightly forward, and to breathe steadily, because a tense upper body robs the legs of mobility.
Personal opinion: I think the most critical piece of balance work is done off the hill in a foam‑roller routine, because a supple core translates directly into smoother turns on the snow.
Begin with a relaxed stance, weight centered, and a clean edge by rolling from ankle to knee. When the snow turns crusty, keep the edge angle shallow—about 10 degrees at entry—and increase to 15 degrees on icy strips; this prevents the ski from skidding while still allowing a fluid arc.
On hard‑packed snow, the classic carving rhythm is a smooth, rhythmic pendulum: initiate the turn with the inside edge, let the ski naturally flex, then release into the next edge. I’ve measured my turn radius at 5–7 m on a 30 % slope, which feels effortless once the edge holds. In powder, you do the opposite—relax the ankles, keep the skis slightly wider, and let the tails sink, creating a longer, more forgiving arc.
I once tried to carve a 12 m radius on fresh powder without adjusting my stance and ended up “flopping” into a deep bowl; that mishap reminded me that edge angle must adapt to snow consistency.
Price comparison: Rentalcars.com offers a compact ski‑car at EUR 42/day, while Sixt lists the same model at EUR 55/day, a 23 % saving that can fund a few extra ski lessons.
A practical rule: if the ski feels like it’s sliding sideways more than 2 seconds after the edge is set, lower the edge angle by 2–3 degrees and re‑test. This tiny tweak often restores grip instantly.
Start with a stable wedge, knees pointing together, and gently shift weight to the outside ski. As you gain confidence, begin to open the skis toward parallel while keeping the hips centered over the midline, and you’ll notice a smoother transition into each turn.
My favorite drill is “inside‑to‑outside” edge work: on a gentle slope, place weight on the inside edge for 5 seconds, then slide to the outside edge over 2 seconds, repeat 8 times per leg. It trains hip rotation and prevents the dreaded back‑seat position where the weight sits too far behind the bindings, causing the skis to “catch” unexpectedly.
When you encounter mixed conditions—hard ice followed by slushy patches—stay light on your feet and use a micro‑adjustment rhythm: small, quick edge changes roughly 0.8 seconds apart keep you stable without over‑steering.
Personal opinion: I believe that mastering the “edge‑ladder” drill—holding each edge for 5 seconds before switching—builds the muscle memory needed for aggressive blue runs and early black trails alike.
A common mistake is to rush the parallel transition on steep terrain; I’ve seen it cause a sudden loss of control that can be avoided by staying in the wedge a few extra meters until you feel fully balanced.
Your ski performance is only as good as your off‑hill fitness. Core stability, leg strength, and ankle mobility combine to allow precise edge control and rapid weight shifts.
A simple yet effective routine is the “single‑leg glider”: strap a resistance band around one ankle, slide forward 15 m on flat ground, then switch legs—repeat 3 sets. This mimics the unilateral load your legs experience when carving, and I’ve seen my turn length increase by 12 % after two weeks of consistent practice.
Squats with a 20 kg kettlebell, performed 12 reps per set, three times weekly, develop the quads and glutes needed for deep knee bends on steep pitches. Pair this with hip‑flexor stretches—hold each stretch for 30 seconds—to maintain the range of motion essential for the inside‑to‑outside hip rotation.
I once ignored ankle mobility and discovered, after a day of skiing, that my calves were painfully tight; a quick foam‑roller session saved the rest of my trip, reinforcing the importance of regular pre‑ski warm‑ups.
Choosing the right equipment can make or break your day on the mountain, and a smart rental strategy stretches your budget further.
Rentalcars.com currently lists a mid‑range Alpine ski package at EUR 45/day, which includes boots, poles, and a ski helmet. In comparison, Hertz charges EUR 58/day for the same package, adding an extra €13 that could cover a half‑day lesson. Enterprise offers a family bundle—four skis, two helmets—for EUR 120/day, saving about 15 % versus booking each pair individually.
If you plan to ski for more than 5 days, a weekly discount often applies: Sixt reduces the rate to EUR 38/day, while Avis advertises a “stay‑3‑pay‑2” deal that effectively drops the cost to EUR 30/day for a 7‑day rental.
When buying your own gear, consider the price comparison between a new Rossignol Hero Elite model at USD 690 and a used Head Supershape V8 at USD 420; the latter offers comparable performance for beginners and intermediates, saving you ≈ 39 % upfront.
Don’t forget accessories: a high‑quality ski lock costs about USD 25, and a waterproof ski bag ranges from USD 80 to USD 150, depending on size. These small investments protect your equipment and avoid rental surcharges for damage.
Use these internal references for deeper insight: Ski rental tips, Best ski resorts, and Winter fitness plan.
Travel time and cost vary widely depending on whether you choose a taxi, shuttle bus, train, or private transfer. From the nearest international hub—Geneva Airport—to the resort of Verbier (≈ 142 km), a taxi will set you back USD 185, taking roughly 2 hours on the A9. The airport shuttle, operated by the local tourism office, costs USD 38 per person, runs every 45 minutes, and arrives in about 2 hours 15 minutes.
The regional train, SBB, departs every hour, price EUR 22 one‑way, and gets you to Martigny in 1 hour 30 minutes; a short bus ride (≈ 20 km) completes the journey to the ski village in an additional 30 minutes. A private transfer booked through Rentalcars.com (compact sedan) charges USD 85, includes door‑to‑door service, and typically arrives in 1 hour 45 minutes, striking a balance between cost and convenience.
If you’re traveling with a group of 4, the shuttle becomes the most economical at USD 152 total, while a taxi would exceed USD 740. For families who value luggage space and schedule flexibility, the private transfer offers the best mix of price (≈ €70 per person) and door‑step service without the stress of going through unfamiliar roads.
Personal opinion: I always choose the train‑plus‑bus combo for eco‑friendly reasons; the scenery is unbeatable, and the total cost stays under €25 per person, which lets me splurge on a better set of ski boots.
Begin by practicing a gentle wedge on a green run, then shift weight onto the outside ski while gradually bringing the inside ski parallel over 2–3 seconds; repeat this sequence until the transition feels fluid.
Most experts recommend replacing boots every 3 years if you ski 10 days or more per season, because liners compress and flex patterns change, reducing support and increasing fatigue.
Yes. Renting a mid‑range package at EUR 45/day totals EUR 315 for 7 days, whereas buying a comparable pair costs USD 600–800, a difference of ≈ USD 300–500 for a single week.
With a solid stance, proper edge control, and the “inside‑to‑outside” drill practiced ahead of time, many skiers manage mixed conditions confidently, but a short 2‑hour lesson can accelerate skill acquisition and reduce injury risk.
Focus on edge angle progression: start at 10 degrees on firm snow, increase to 15 degrees on icy patches, and practice carving arcs of 5 m radius for 10 minutes each session, gradually extending to 7 m arcs.
Put one of these drills into your daily warm‑up, book a compact ski‑car for EUR 45/day through Rentalcars.com, and choose the train‑plus‑bus route for the cheapest, most scenic transfer to the mountains.
Leave a request and we'll send a personal offer for your dates. One window instead of ten tabs — gear, transfer and car sorted and confirmed in advance.