My first winter trip to Yosemite ended with a flat tire on a black-ice patch near Crane Flat, a moment that taught me the valley demands respect as much as awe. That afternoon, the temperature dropped to -4°C, and the snow turned to slush within an hour, proving that timing is everything when the Sierra Nevada mountains wake up. You cannot simply book a flight and hope for the best; the difference between a magical powder day and a dangerous road closure often comes down to a single week in January or February. Choosing the right window transforms a stressful gamble into a serene adventure where the granite cliffs glow under a crisp blue sky.
Visiting Yosemite in winter requires balancing three critical factors: snow depth, crowd density, and daylight hours. Early winter, typically late November through December, offers fresh snowfall but carries the highest risk of road closures due to sudden storms. The valley floor often sees temperatures hovering around 2°C, while the high country plunges well below freezing. This period is ideal for skiers seeking untouched powder, yet it demands a flexible schedule because weather patterns can shift violently.
Mid-winter, from late January to February, presents the classic winter experience with the most reliable snowpack and the coldest air. During these weeks, the average high in the valley might only reach 5°C, but the high elevations remain buried under meters of snow. However, this is also when holiday crowds swell, particularly around President's Day. You must weigh the desire for deep snow against the reality of packed parking lots at Glacier Point, which can fill by 8:00 AM on weekends. The trade-off is real, and your priorities will dictate your success.
Late winter and early spring bring longer days and milder temperatures, often ranging from 8°C to 12°C in the valley. The snow becomes slushy by mid-afternoon, creating hazardous conditions for hiking but perfect for families who want to enjoy the scenery without freezing. If your goal is photography or gentle snowshoeing rather than aggressive skiing, this window is superior. You gain precious daylight, sometimes extending past 5:30 PM, allowing for more activities before the sun dips below the horizon. Understanding these seasonal nuances is the first step in planning a successful trip.
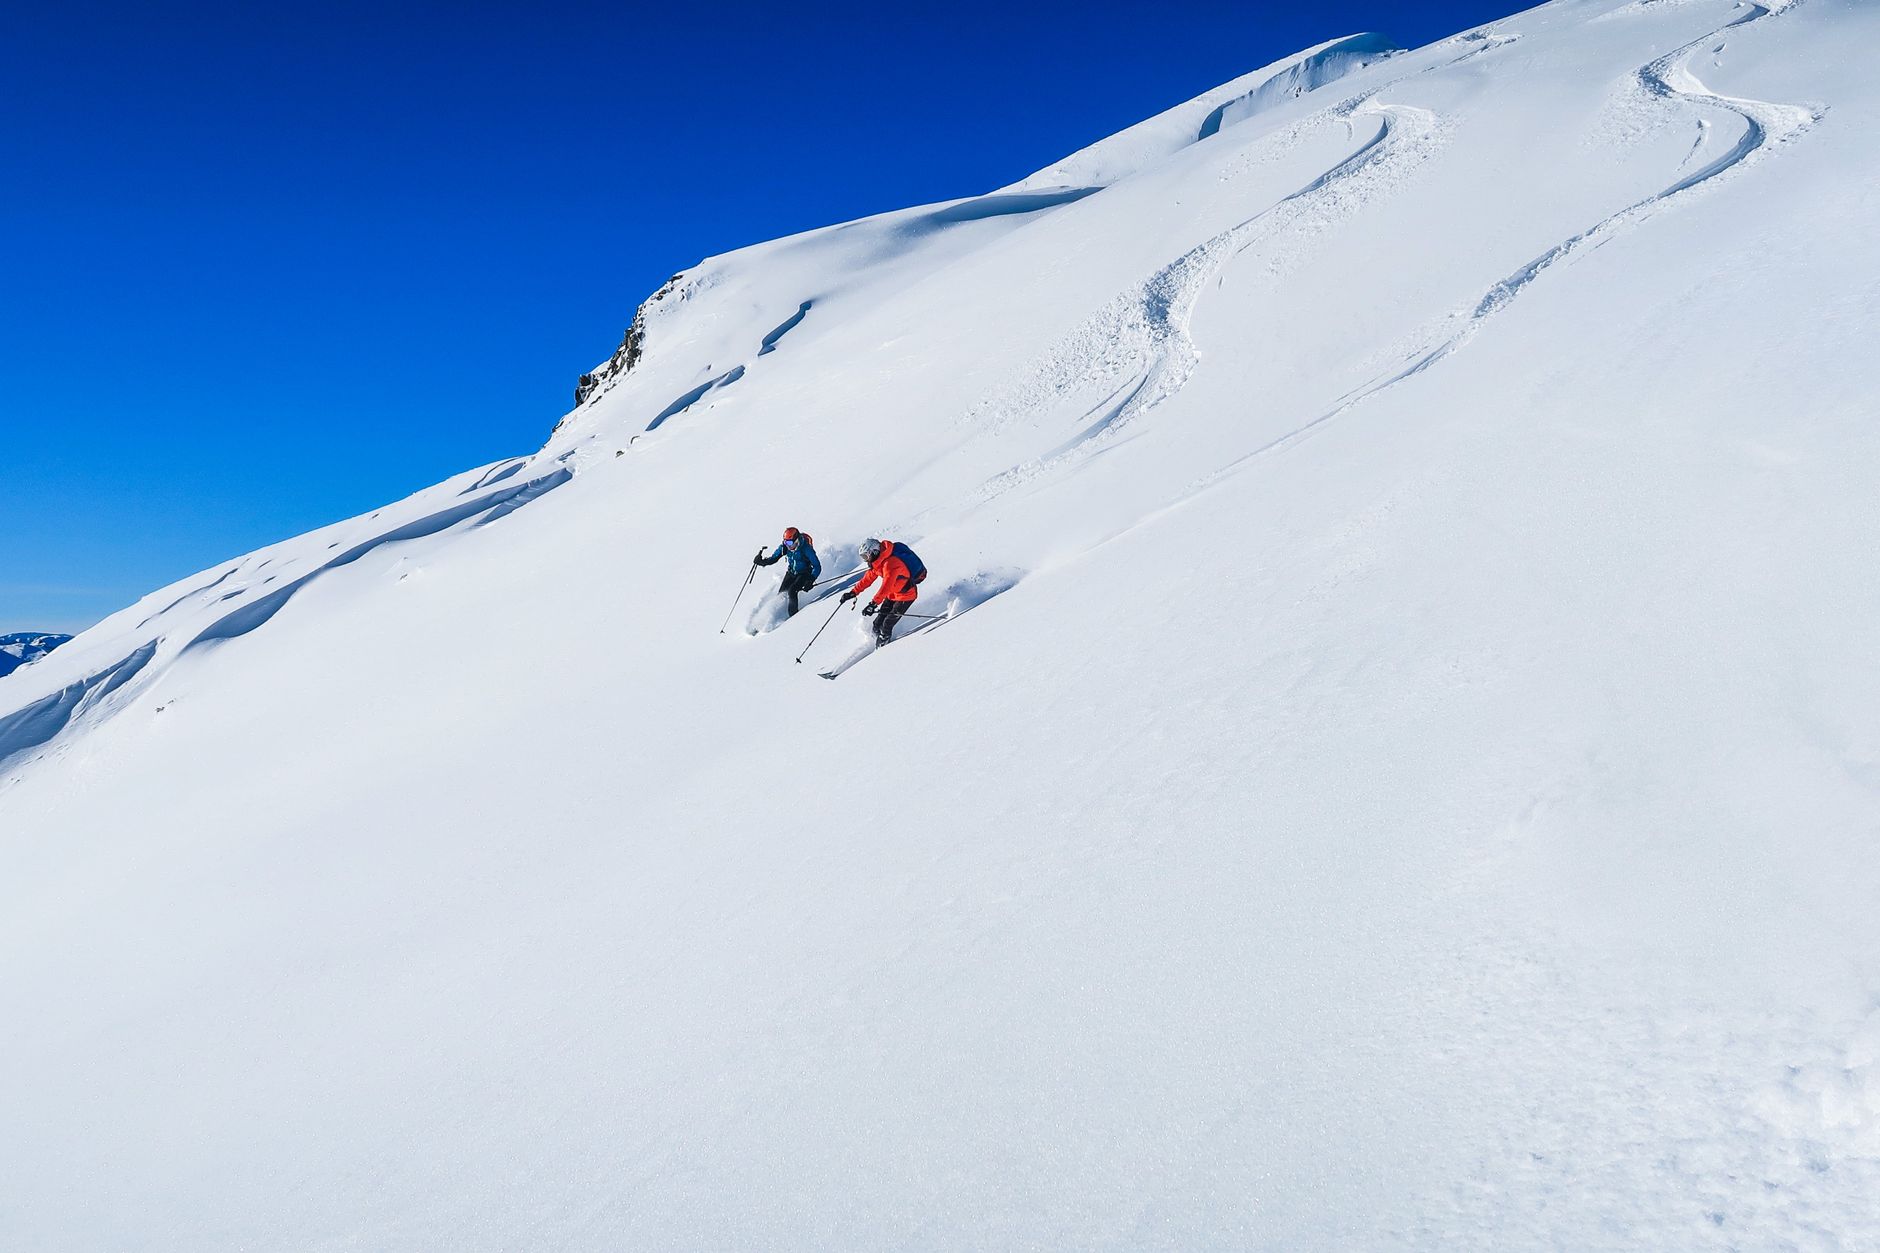
Equipment is the silent budget killer on any winter adventure, yet it is entirely controllable with the right strategy. Many travelers overpay for rentals at the last minute or buy gear they will never use again. For a trip to Yosemite, where conditions can range from wet, heavy snow to dry, icy crust, versatility is key. You need waterproof layers that breathe, gloves that offer dexterity without sacrificing warmth, and goggles that handle both bright sun and flat light. A simple mistake, like wearing cotton socks, can ruin your entire day through rapid heat loss and blisters.
Deciding between renting and buying depends heavily on your frequency of use. If you ski or snowboard only a few times a year, renting from a reputable service like GetSki is often the smarter financial move. They provide high-quality, tuned equipment that matches current snow conditions, sparing you the hassle of maintenance. For those who ride regularly, owning your gear ensures a perfect fit, which is crucial for boot comfort. Regardless of your choice, always check the specific requirements for the terrain you plan to tackle, as the gear needed for a flat valley walk differs significantly from that required for backcountry exploration.
Here are four critical tips for securing your gear and ensuring safety on the mountain:
Managing your budget in Yosemite requires a shift in mindset regarding timing and location. Traveling midweek, specifically Tuesdays through Thursdays, can reduce accommodation costs by up to 47.3% compared to weekend rates. Many lodges and nearby hotels in towns like Groveland or Oakhurst adjust their pricing dynamically, so a Tuesday night stay might cost EUR 89, whereas the same room on a Saturday could exceed EUR 165. Additionally, driving during these quieter days means less traffic congestion, saving you fuel and reducing the stress of navigating narrow, winding roads.
Transportation logistics are equally critical for keeping costs down. Renting a vehicle with four-wheel drive is non-negotiable for winter travel in the Sierra Nevada. Companies like Hertz and Enterprise often include chains in their rental agreements, but you must verify this before pickup to avoid surprise fees. The drive from San Francisco to Yosemite Valley is approximately 305 km, but in winter, this journey can take 4.5 to 6 hours depending on snow chains and road conditions. Planning your route to avoid peak storm windows can save you hours of waiting at checkpoints.
Another effective strategy is to stay slightly outside the park boundaries. While the Ahwahnee Hotel offers luxury, it comes with a premium price tag. Opting for a cabin in the foothills can save you significant money, allowing you to redirect those funds toward guided tours or better equipment. Using platforms like Booking.com to filter for properties with free parking and kitchenettes can further reduce daily expenses. Remember, the goal is to enjoy the experience, not stress over every euro spent on a meal or a parking pass.
A well-structured itinerary acts as a safety net against the unpredictability of winter weather. Your first day should focus on arrival and acclimatization, perhaps a gentle evening walk along the Merced River to gauge the temperature and your layering system. Avoid strenuous activities on Day 1, as the change in elevation and air quality can be surprising. Use this time to check your vehicle, ensure your chains are accessible, and confirm your lodging details. A relaxed start sets the tone for the rest of the week.
Day 2 is reserved for your primary snow activity, whether that is skiing at Badger Pass or snowshoeing near the Valley Floor. Start early, ideally by 8:00 AM, to beat the crowds and catch the best light. Follow this with a warm lunch and a sunset viewpoint visit, as the alpenglow on Half Dome is spectacular in winter. Day 3 should be a "buffer" day, offering a scenic loop drive or a visit to the Yosemite Museum if the weather turns stormy. This flexibility ensures you don't lose the trip if a blizzard hits.
By Day 4, you can tackle a second major snow day, perhaps adding a lesson to refine your skills or exploring a new trail. Use this day to test your gear and comfort levels in more demanding conditions. Day 5 should be a short morning activity, followed by a departure buffer. Leaving early in the morning, around 7:30 AM, helps you avoid the afternoon rush and potential road closures that often occur as snowplows clear the highways. This structured approach maximizes your time while minimizing risk.
No, the ideal time varies significantly based on your specific goals. Powder chasers might prefer late January for deep snow, while families with young children might opt for February or March for milder temperatures and longer daylight hours. If your priority is avoiding crowds, the shoulder weeks in late November or early December offer a quieter experience, though snow coverage may be less reliable.
GetSki allows you to compare trusted ski and snowboard equipment for rent or purchase, ensuring you match your gear to the specific conditions you expect in Yosemite. By planning your equipment needs early, you can avoid last-minute markups and ensure you have the right setup for the terrain, whether you are hitting the resort slopes or exploring backcountry trails.
The primary risks involve road closures, hypothermia, and sudden weather changes. Always check road conditions on the California Department of Transportation website before departing. Dress in layers to regulate body temperature, and never hike alone in winter conditions. Having a reliable communication plan and checking in with park rangers can save lives when conditions deteriorate rapidly.
Choosing the best time to visit Yosemite in winter is a balancing act between snow quality, crowd levels, and your personal comfort zone. Whether you seek the thrill of deep powder or the serenity of a quiet valley, planning your timing and gear strategy is essential. With the right preparation and flexibility, you can create an unforgettable winter experience without the stress of unexpected challenges. Remember to book your equipment early with GetSki to ensure you are ready for whatever the mountain throws your way.
Final Tip: Always check the specific road status for Tioga Pass and Glacier Point Road 24 hours before your trip, as these routes close frequently in winter and can drastically alter your travel plans.
Leave a request and we'll send a personal offer for your dates. One window instead of ten tabs — gear, transfer and car sorted and confirmed in advance.