Book a shuttle from closest airports to base; begin ascent at first light for a beautiful panorama.
Mission: provide precise routes across levels; locals recommend practical tips; galleries near trailheads offer cultural context between sections.
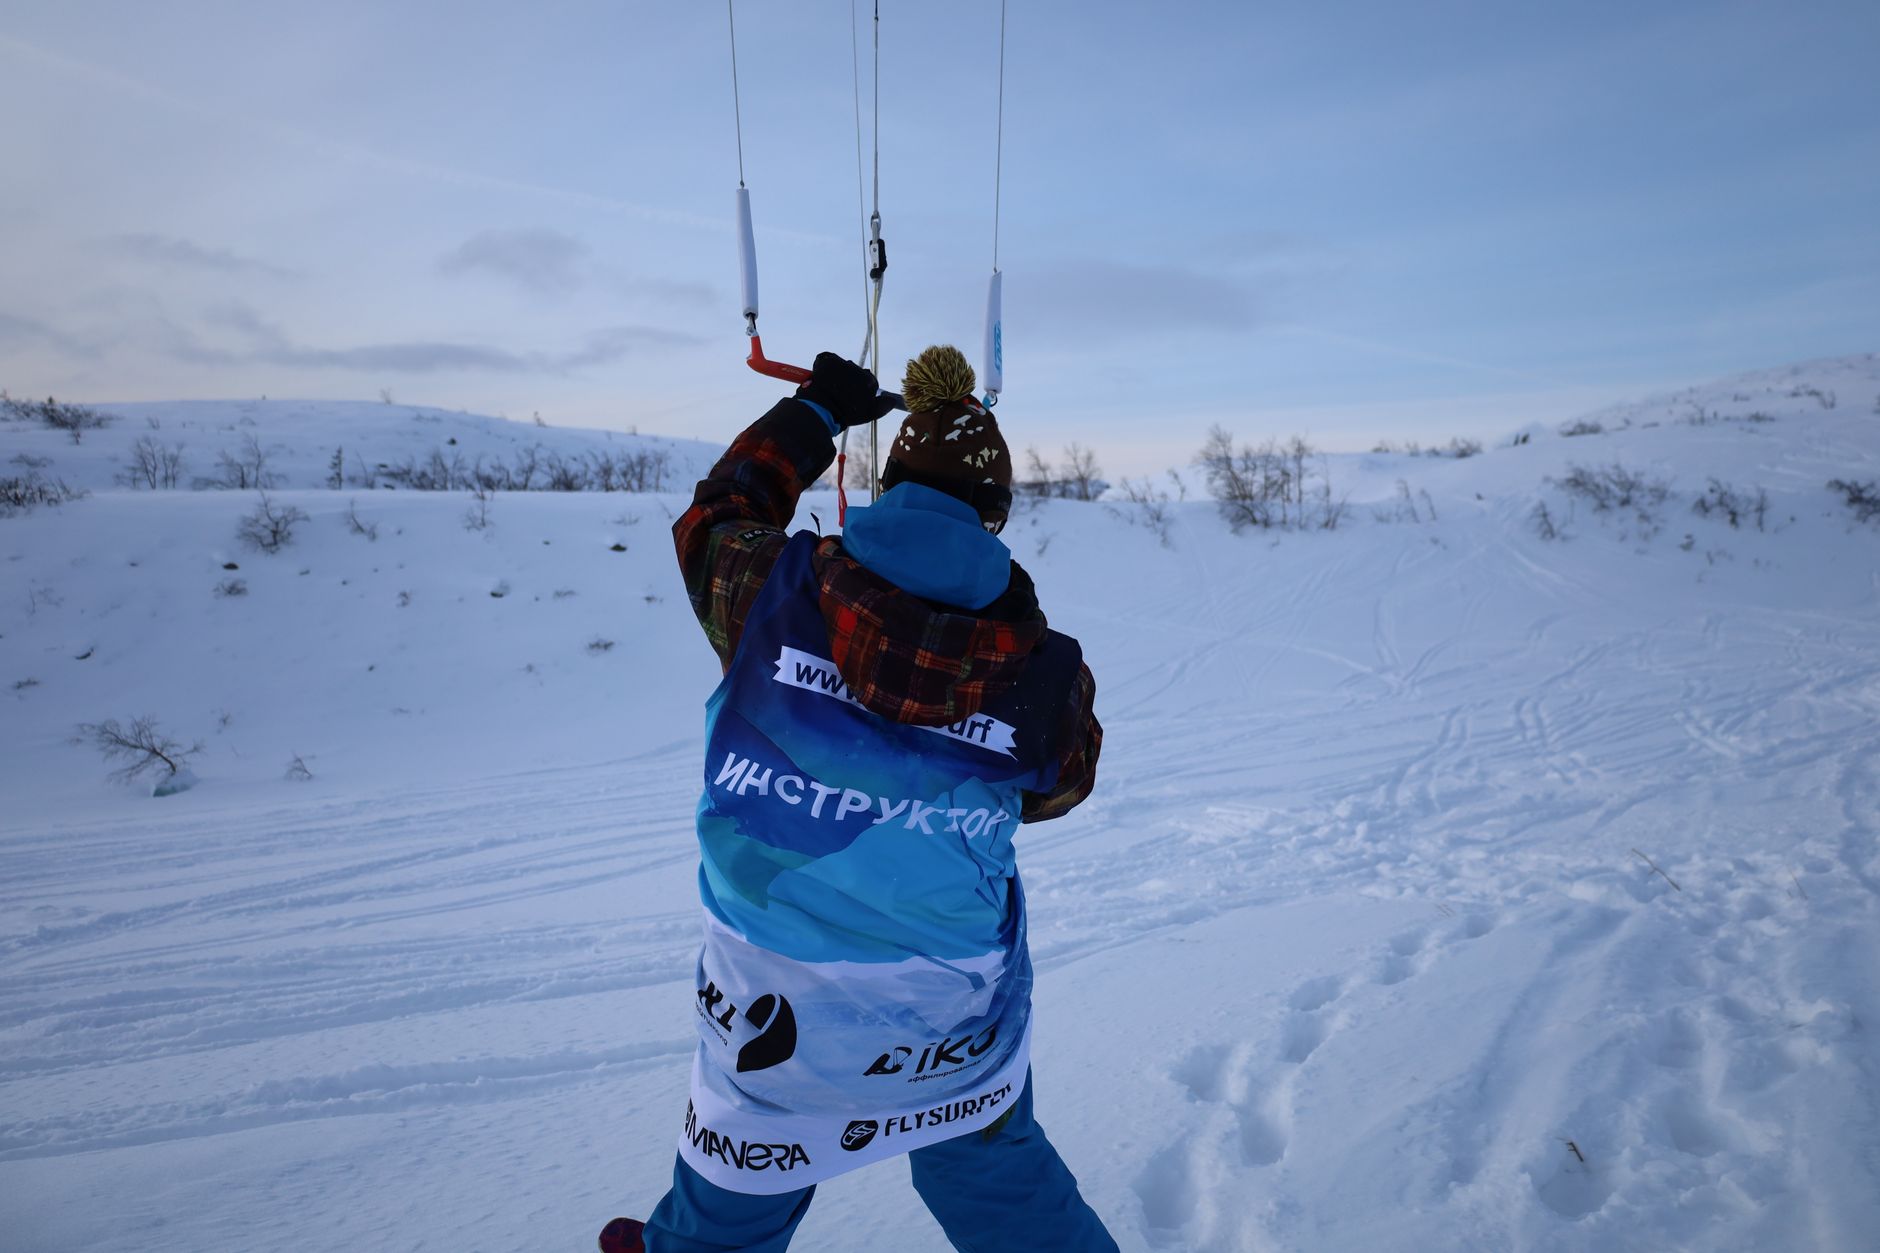
Each trail leads toward several peaks, with clear signage, sheltered huts raised above bottom meadows in european-style design; climate data, times for safe return, altitude levels help planning for such conditions.
outdoor exploration benefits from local insight: locals provide route alternatives; weather windows; accessible segments exist across each level; maps accompany every route.
Include practical checks: weather forecasts, footwear suitability, hydration strategy; local galleries showcase seasonality; locals run small markets near trailheads; mission remains to keep routes accessible, raise awareness about conservation, respect bottom ecosystems; times vary by season, plan ahead for sunrise or sunset views in outdoor contexts.
First move: drive to lodge district near town, park in brown lot, begin from a base trailhead with a short climb.
Target two to three spots offering reliable access to views, safe parking; if winter conditions persist, pick lower slopes to minimize risk.
Assess access by drive time from town center; weigh crowd levels at parks, prefer backcountry routes, or choose a short loop near a lodge.
Pack compass, map, water, headlamp; set a momentum pace, avoid overexertion.
Coordinate with lodge owners, independent guides; check closures, weather shifts; adjust group size accordingly.
Perhaps check with airlines servicing the regional hub to minimize driving fatigue; arriving after a long flight implies scheduling a lighter day nearby.
Perhaps plan two to three options; this keeps momentum high.
Loads of photo spots appear along the grand vista; groups such as girls, families, couples capture moments, views remain strong in morning light.
источник local bulletins provide closures; independent operators offer shuttle options; winter specifics require traction gear.
| Route | Access | Drive Time (min) | Elevation Gain | Difficulty | Seasonal Notes | Tips |
|---|---|---|---|---|---|---|
| Grand Vista Route | Lodge Parking Lot | 25 | 320 m | Moderate | Spring through Fall | Parking fills fast; arrive early; first light helps. |
| Jensen Crest Path | Jensen Creek Lot | 50 | 420 m | Hard | Year-round; winter detours | Loads of photo spots; источник provides current closures. |
| Brown Hill Overlook | Town House Gate | 40 | 180 m | Easy | Spring - Fall | Independent shuttle options; owners may offer rides. |
Recommendation: begin with a four-mile loop near Real town; elevation gain around 620 ft; terrain features brown rocks, wide hill slopes; entrance sits at the main trailhead just north of the town center; guided options provide history context; when sun climbs, pace drops; skill notes accompany each guided route.
Time estimates: 2.0–2.5 hours at easy pace; 3.0–3.5 hours at steady tempo; return via main entrance adds 0.3 hours on average; bottom overlook adds 0.5 hours; quail, other wildlife often appear during quiet stretches; time may exceed forecasts in cooler seasons.
Four standard routes exist: main loop 620 ft gain; hill ascent 980 ft; riverside spur 410 ft; overlook circuit 720 ft; typical totals 1.5–3.5 hours depending on pace, rest stops; more if you push.
Access notes: gondolas lift to high points; next parking connects with wide trails; airports within forty minutes; towns border the area; hotels sit near the entrance; eatery near bottom serves meals; four-mile base route remains the most just option for most visitors.
Tradeoff mindset: this area offers multiple ways to reach the top: gondolas; main trailhead; riverside route; overlook path; four miles still remains the full experience; based on heat, a longer approach may feel impossible during peak sun.
Advice: stay hydrated; carry two liters; brown rocks demand careful footing; bottom sections gentler; expert-only segments should remain off limits for casual trekkers; four miles yields a full experience; style: maintain a steady rhythm; many hungry travelers prefer eatery meals after return.
Answer: says locals, safety remains priority; this setup makes it possible to complete a notable loop within a half day; when heat spikes, cut pace early; just a few rest breaks lift mood; more time yields better history context; this area blends area scenery with practical needs.
Bottom line: four miles near Real town fits most, tradeoff exists between pace, heat, rest stops; like many routes, steady rhythm yields more reward; this makes the choice simple: begin at main entrance, finish at the eatery for meals.
Based on area history, this route supplies four ways to explore; next visits suggest repeating on a cooler day; hotels, airports, towns nearby ensure easy logistics; four miles still remains a solid test for most skill levels.
Begin at East Gate Outlook, located 1.6 miles from closest towns; vertical gain 520 ft; an advanced option for seasoned hikers. Morning light floods east-facing shelves; a pine bowl below captures glow on exposed chutes; ledges reflect early color; features include a narrow cornice; wind-swept apron. we recommend a dawn start for best light. bucket list moments await.
These routes offer small alcoves for photography; time windows determine light; perfect scenes for time-lapse; above valley towns, morning light pours across cliffs; cairns, objects, mark viewpoints. Photography tips: craft silhouettes against glow. life on exposed rock demands focus; independent observers may carry a compact tripod.
Time plans adapt to season; youll book a dawn slot; access is straightforward via two switchbacks; lunch break sits at overlook in most setups.
Practical items: bucket for debris, fitness gear, a compact stove for lunch, a kitchen kit with lighter meals, hydration pack, headlamp, map, light shell.
Independent hikers choose option matching ability; major exposure demands slow pace; closest trailheads reduce drive time.
Closing tip: capture sunrise with a single lens; avoid loud crowds; leave no trace.
Recommendation: gear matched to mission; compact weatherproof pack; lightweight footwear; base layer, mid-layer, shell; helmet for backcountry routes; beacon, probe, shovel for avy terrain; map, compass, headlamp; spare battery; first-aid kit; snacks, hydration 2–3 liters.
Day trips demand independent, flexible setup; four core items: navigation, insulation, protection, hydration; practical footwear; weather-appropriate shell; quick-dry socks; compact rain cover; energy bars; spare layer; estimated energy needs.
Vertical routes demand heftier kit: helmet; harness; rope; belay device; protection hardware; crampons or microspikes; ice axe when needed; extra gloves; sturdy boots; head protection for projection lines; raised safety standards.
Clothing plan on-mountain: base layer; fleece; shell; moisture control; ridge exposures require windproofing; socks: two pairs, wicking; footwear selection based on terrain; post-ski shifts demand warm layers; independent, friendly crews move with pace; onto summit lookouts highlight exposure; youll notice best warmth when layers stay dry; rink visits after ascent provide cooldown; choices made such that risk stays low.
Safety kit specifics: whistle; headlamp; spare batteries; bivy or emergency blanket; basic first-aid; repair tape; duct tape; lighter; fire starter; signal mirror; compass; map; beacon for backcountry; check lines: one-route check, reason to carry, loads of spare batteries.
Post-session routine: friendly crew gathers at a country restaurant; loads of stories; week after week, youll share experiences with everyone; independent planning keeps connection really lively; nonstop chatter shifts to routes, safety, gear; staying prepared matters, said mentors; beer balances pace.
Carry a personal locator beacon (PLB) when backcountry trips extend beyond cell coverage. Prepare a four-part safety kit from a compact set: weather, navigation, people, devices. In February, winter shifts can arrive fast; pack extra insulation, dry socks, and a windproof shell. Inform a trusted contact about route, expected times, and an alternate plan. Store critical items in small boxes that stay dry in a pack pocket near the house or trailhead.
Check seasonal permit calendars first; needs vary by zone; permits sell out quickly during peak months; plan ahead by reviewing dates at least four weeks before your trip.
Four permit types exist; choice includes day-use, overnight, weekly, annual; purchase online through official portal prior to arrival; carry digital copy on device or print it at home.
Seasons shift with snowpack; summer access roughly July to October, depending on weather; winter season remains the longest period for snow sports; closures occur after heavy storms in high basins.
Closures announced by land managers via trailhead boards; official websites; ranger offices provide updates; travel before sunrise, early light helps avoid closures after dawn; stay on signed routes; some sections closed for nesting near Sherwood forest; check latest bulletin here for updates.
Access rules include parking-lot hours; display permit on dashboard; motorized access restricted beyond designated lots; preserve quiet zones; bikes restricted on fragile sections; keep noise to a minimum.
Here is very practical information for community looking for a reliable location; four zones define permit options; their history explains why closures occur; theres reason behind rules tied to wildlife near Sherwood basin; nearby eatery cluster offers quick bites; longest winter period brings skiers; Alta access provides a winter alternative; keep to foot paths; nearby condos offer convenient lodging for longer stays; information products list airports with nonstop service to region; from hubs, four hour drive reaches base; hour by hour updates appear on official portals; this helps planning for independent travelers; exit options and safe routes are explained here.
Second, map contingency routes; keep emergency contacts ready; monitor official feeds hourly for updates; be prepared to adjust plans when closures shift; arrive during daylight hours; arrive early to avoid congestion; catch morning openings.

Leave a request and we'll send a personal offer for your dates. One window instead of ten tabs — gear, transfer and car sorted and confirmed in advance.