Rent mid-range brand skis with standard bindings, mounted forward enough to balance, and keep a predictable speed on easy runs. This setup remains stable while you learn, and you can evaluate progress before investing more seriously. thanks to a clean baseline, you can switch to a purchase if you still enjoy days on snow.
Length guide: aim skis roughly 10-20 cm shorter than your height to ease steering; powder-oriented boards require +5-10 cm; someone 170 cm tall may target around 150-165 cm; lighter riders opt 5-10 cm shorter; heavier riders stay near height.
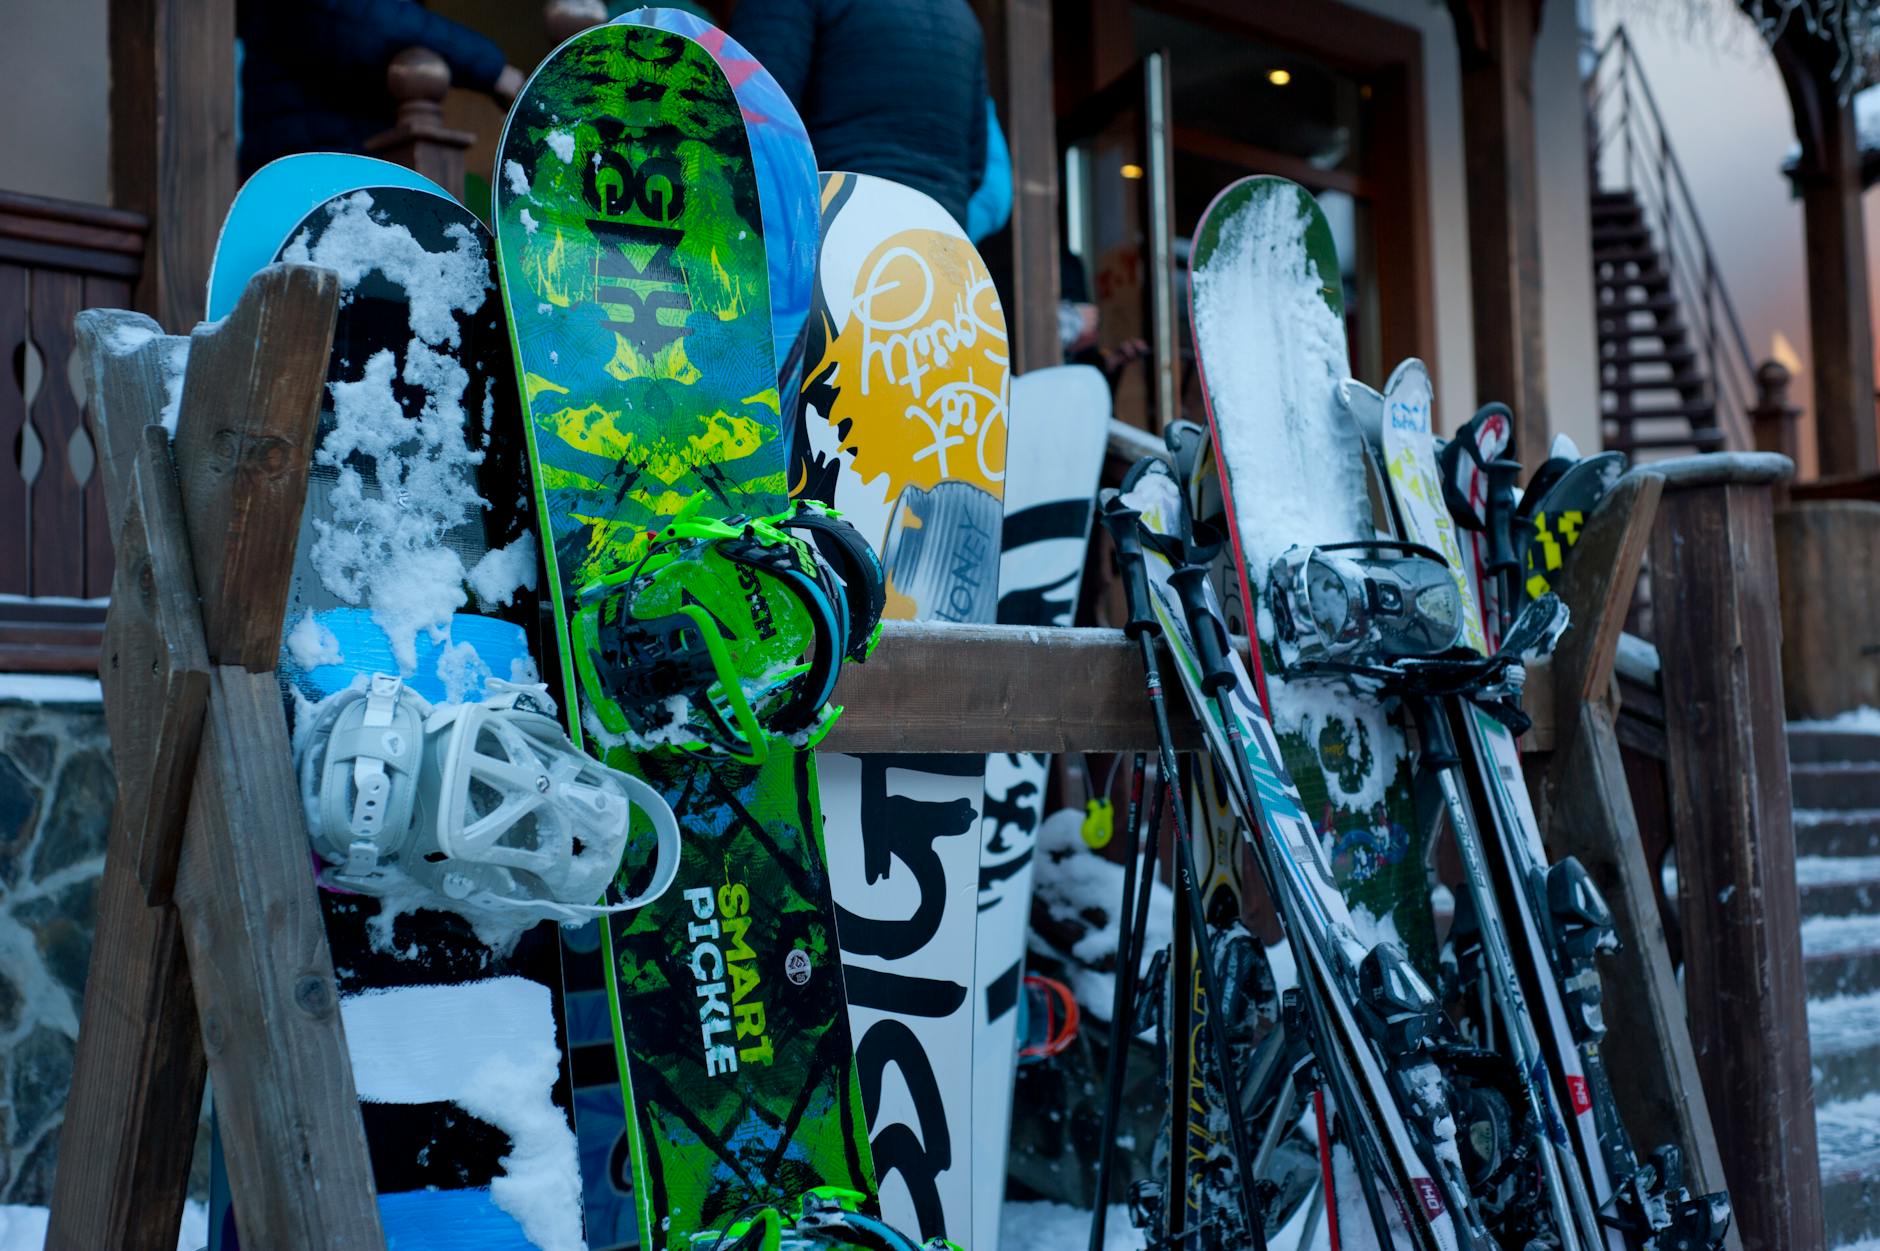
Bindings tuning matters. In rental shops, pick bindings that match boot sole length and offer a DIN range around 3-9 suitable for light, casual riders. If you know boot size, you could opt for a model with wide adjustment and reliable release. A forward mounting position improves balance, and this choice is advisable when you compare counterparts across models.
Prices vary by region; rental sets often include boots, poles, and a helmet. Daily rates commonly range from $20 to $40 depending on brand and condition. Compare counterparts, such as entry-level versus premium models; an upgrade yields noticeable gains in grip and edge hold, which is advisable after a handful of sessions. If you rent, review return policy; problems sometimes appear less often when gear is well maintained.
Detail on shapes matters. For a forgiving start, choose an all-mountain profile with a mild sidecut and a modest camber; this supports steady speed control on mixed snow. In side-by-side comparisons, note weight, core material, and edge width; pick a pair that pairs well with rental boots and delivers reliable response across conditions. Boards in mixed gear can help you test versatility.
Helpful checklist for decisions: verify boot bindings compatibility, test release, confirm mounting position, inspect edges and bases for burrs, and confirm brake width compatibility with your boots. A little diligence saves time on slope; thanks to quick checks, gear stays out of trouble and performance stays consistent, and you avoid the vice of overbuying gear before trying it.
Problem solving quick notes: if a problem arises, recheck boot size, tighten straps, or replace worn pads; if a binding feels loose, have it adjusted by a technician who knows what to tune. Sometimes a minor adjustment fixes control issues, reducing risk and improving confidence on slopes. If you rent across a season, keep a simple record of what worked and what did not to guide future picks.
Choose cambered, short skis with a soft flex and durable materials; this combination gives ultimate stability and easy turning. Conduct tests focusing on edge bite, transition into turns, and return to flat travel; once confident, proceed to purchase.
Length should reach chin height when standing upright; currently, a 165 cm tall person should select skis around 155–165 cm.
Construction relies on layers: a main core of durable materials, with soft foams and a cambered upper profile; add a protective layer to improve torsion and control.
Waist width around 75–85 mm suits most learning terrain; the difference between cambered and flat profiles becomes evident on edges, with camber giving quicker bite.
Levels of stiffness should start soft to mid; this makes handling particularly forgiving on gentle runs, giving confidence on holiday slopes.
Touring options rely on lighter materials and durable layer systems; choose a waist around 80–90 mm and a balanced camber.
Poles should reach armpit height when standing with boots; adjustable models help match stance throughout the day.
Polythene packaging protects edges during transport; once you unpack, check for nicks and inspect the finish.
Currently compare three main candidates by tests of stability, edge control, and ease of turning; particularly note durability and service options, since ultimate purchase depends on support.
Once sure, the ride becomes enjoyable on slopes day after day.
Ideal starting point: all-terrain skis with a 90–105mm waist, balanced camber underfoot, and tip rocker. This sheet delivers reliable grip on ice, predictable turns on packed snow, and stable feel when conditions shift on mountain. After tests across snow sheets and mixed terrain, profiles emerge showing how weight, speed, and stance influence performance. Here is a concise breakdown to help making choice once terrain narrows.
Groomed lanes: waist 70–86mm; camber underfoot with minimal rocker; edge grip excels on packed sheet; turning feels immediate and precise at mid to high speed; durability supports daily sessions; tall riders gain control with upright stance; emphasize stability, predictable bite, and fast edge transitions; those chasing carving precision benefit from this profile; many riders enjoy balanced speed control on smooth surfaces.
Powder fields: waist 100–125mm; tip rocker dominates, tail sometimes rockered; twin-tip versions add easy exit when engagement ends; floatation improves in deep snow; turning demands technique but offers buoyancy; suitable on black diamond lines after fresh powder; durability varies with construction; those seeking buoyant ride will appreciate this flavor; many options emphasize low swing weight and robust sheets.
All-Terrain versatility: waist 85–100mm; balanced rocker with camber; solid response in variable snow; turns remain smooth on groomed lanes; comfortable through long days on mountain; determining fit depends on height tall, weight, and riding style; profiles from tests show stable handling in mixed landscapes; those needing flexibility appreciate this approach.
Practical checks here: compare speed control on ice, feel in powder, and side-to-side stability on mixed snow; after these cues, making choice becomes straightforward. If you need clarity, field tests clarify which category matches riding style. Consider durability and factor in environment where you ride most often; once pattern emerges, narrow down to handful of models that match flavor and tune alignment.
choose a mid-flex all-mountain ski around 100–105 mm waist with soft tip and tail; this setup yields confidence on groomed surfaces and in light powder, while delivering forgiving feel that speeds up progress.
Once height and goals are clear, narrow options to a shorter list. Compare durability, weight, and flex pattern directly; check detail like camber profile, sidecut radius, and rocker type on each offered model. In world of ski, similar sizes and brands exist with similarly tuned boards; pick perfectly matched option for confidence and progress. If you want something that balances price, durability, and performance, start with a model that feels perfectly balanced between easier handling and stability at speed.
Best starting rule: pick skis 5–15 cm under height. Novices and lighter-weight riders likely prefer 10–15 cm under; heavier, aggressive riders could go toward height or slightly longer for stability at speed.
On flat or groomed runs, shorter length improves turning feel; in article form, ungroomed snow demands longer length to stay stable.
Racing focus may push length near height; expert tests show length could affect balance, stability, and turning feel. Sidecuts shape turning radius; wide ones float in ungroomed conditions, and narrower ones carve on flat terrain. In racing contexts, longer length supports steadier down-slope runs.
To decide quickly: evaluate height, weight, skill, and typical terrain. A quick fact: tests with two lengths in a shop help determine which feels faster. If most sessions are on flat or groomed runs, choose lower end over a wide range; in ungroomed days, add 5–10 cm. Although length matters, feel on snow decides final pick.
Gear aimed at racing or expert styles: extend length toward height; when learning, pull length toward lower end. Learned tip: align length with riding style. Tests with gear and customers offering practical guidance help ensure faster progression and better control.
Invest in an all-terrain ski with a light rocker, shallow camber, and a medium flex. This setup excels on groomers and alpine slopes, while keeping park runs stable. Width ranges around 90–100 mm underfoot work well across snow conditions; sheet construction with balanced taper helps prevent nose dive.
Rocker affects turn initiation and flotation on soft snow; camber increases edge grip; flex controls stability during landings.
Rocker design yields quicker edge engagement; camber underfoot broadens contact along side edge, so you feel grip when carving. Deeper knowledge comes from checking technology specs and comparing models on portals.
Flex choice determines tolerance: softer cores tolerate imperfect snow; stiffer builds excel at speed, in park lines, and on jumps.
Width ranges matter: start with mid-range width, around 90–100 mm underfoot, to tackle all-terrain conditions. Keep in mind that a slightly wider sheet improves stability on soft surfaces and reduces side-to-side wobble.
Construction notes include core material choices, fiberglass layers, and sheet construction. These elements influence torsion, dampening, and overall balance. Manufacturer pages and portals provide detailed data to compare models, including recommended ranges and price.
Customers seeking a reliable tool should invest in models that excel across alpine, groomers, and all-terrain use. Realistic expectations come from trying models, testing on nearby slopes, and reading a tech sheet that already tackles common questions. This deeper knowledge lets shoppers excel when choosing setup that suits their needs and budget.
See table below to compare rocker, camber, and flex traits.
| Aspect | Rocker | Camber | Flex |
|---|---|---|---|
| Edge engagement | Lower bite on hardpack; quicker release | Higher bite across edge | Stability scales with load |
| Turn behavior | Quicker initiation | Steady carving; more line retention | Predictable flex under load |
| Terrain fit | All-terrain with powder float | Central contact patch | Park and jumps require solid feel |
| Construction | Tip/tail rise affects side stiffness | Underfoot camber engages edge | Core + fiberglass adds torsion |
| Specs to compare | Rocker zones; sheet notes | Camber distribution; width ranges | Flex index; core design |
DIN values hinge on boot sole length (BSL) and skiing profile. Compared against manufacturer charts, keep toe and heel releases aligned. Use a chart from known sources, adjust so toe and heel DIN differ by no more than 0.5 units in most cases. Heavier skiers or racers might set higher, lighter weights or casual use lower values. Measure BSL on boot label to select a suitable range.
Mounting position matters. Topsheet marks, or mounting line printed by known manufacturers, provide reference. Use a mounting jig compatible with model, align centerline with marks, then drill pilot holes and install screws flush. Do not drive screws beyond topsheet or into core. Re-check screw length with manufacturer instructions and ensure screws reach core without protruding. Steps include marking pilot holes, aligning line, and tightening screws.
Profiles between skis differ. All-terrain sticks often use near true center or slight back by 0–1 cm; carvers lean toward forward by 1–2 cm to quicken turn initiation; hybrids blend behavior, leaning forward slightly in deep snow or when carving. Racers may require precise mount shifts depending on discipline; freestyle kits frequently use 1–3 cm forward of center for pop and press control. Sidecut shape, topsheet thickness, and spent years of development shift these values; Only precise mounting yields predictable release behavior; always scan model-specific mounting notes before drilling.
Release testing stays essential; after mounting, perform a static check with boot inserted. Apply gentle torsion to confirm toe and heel release values match DIN chart, using manufacturer guidance. If bindings respond poorly–either not releasing or releasing unexpectedly–arrange a specialised shop evaluation. Keep chin neutral and eyes forward during checks to help balance; this approach suits every alpine style, including all-terrain, freestyle, and carvers. Bindings must suit every platform.
After mounting, inspect topsheet for cracks or delamination beneath screws. Check sidecut alignment with stance and consider extra stance width adjustments for larger boots. If in doubt, research binding models matching boot sole length, weight, and skiing style; specialised setups include hybrid systems that suit all-terrain, carvers, or freestyle. Theyre designed to simplify tuning and keep risk minimal.
Schedule yearly inspection of mounted setup; binding screws can loosen after many sessions; re-check DIN, screw tightness, and mounting position after a collision or ski repair. This practice keeps safety high and performance consistent across different snow conditions.

Leave a request and we'll send a personal offer for your dates. One window instead of ten tabs — gear, transfer and car sorted and confirmed in advance.