Book a certified instructor during a half-day on terrain you know. This concrete starting point builds a baseline of predictable moves and keeps pace aligned to your current level.
Before descent, confirm inside the rental shop the status of adjustable bindings, test goggle fit, and a hooded shell to block cold wind. Weather shifts quickly, something you should respect; comfort and visibility stay reliable through turns.
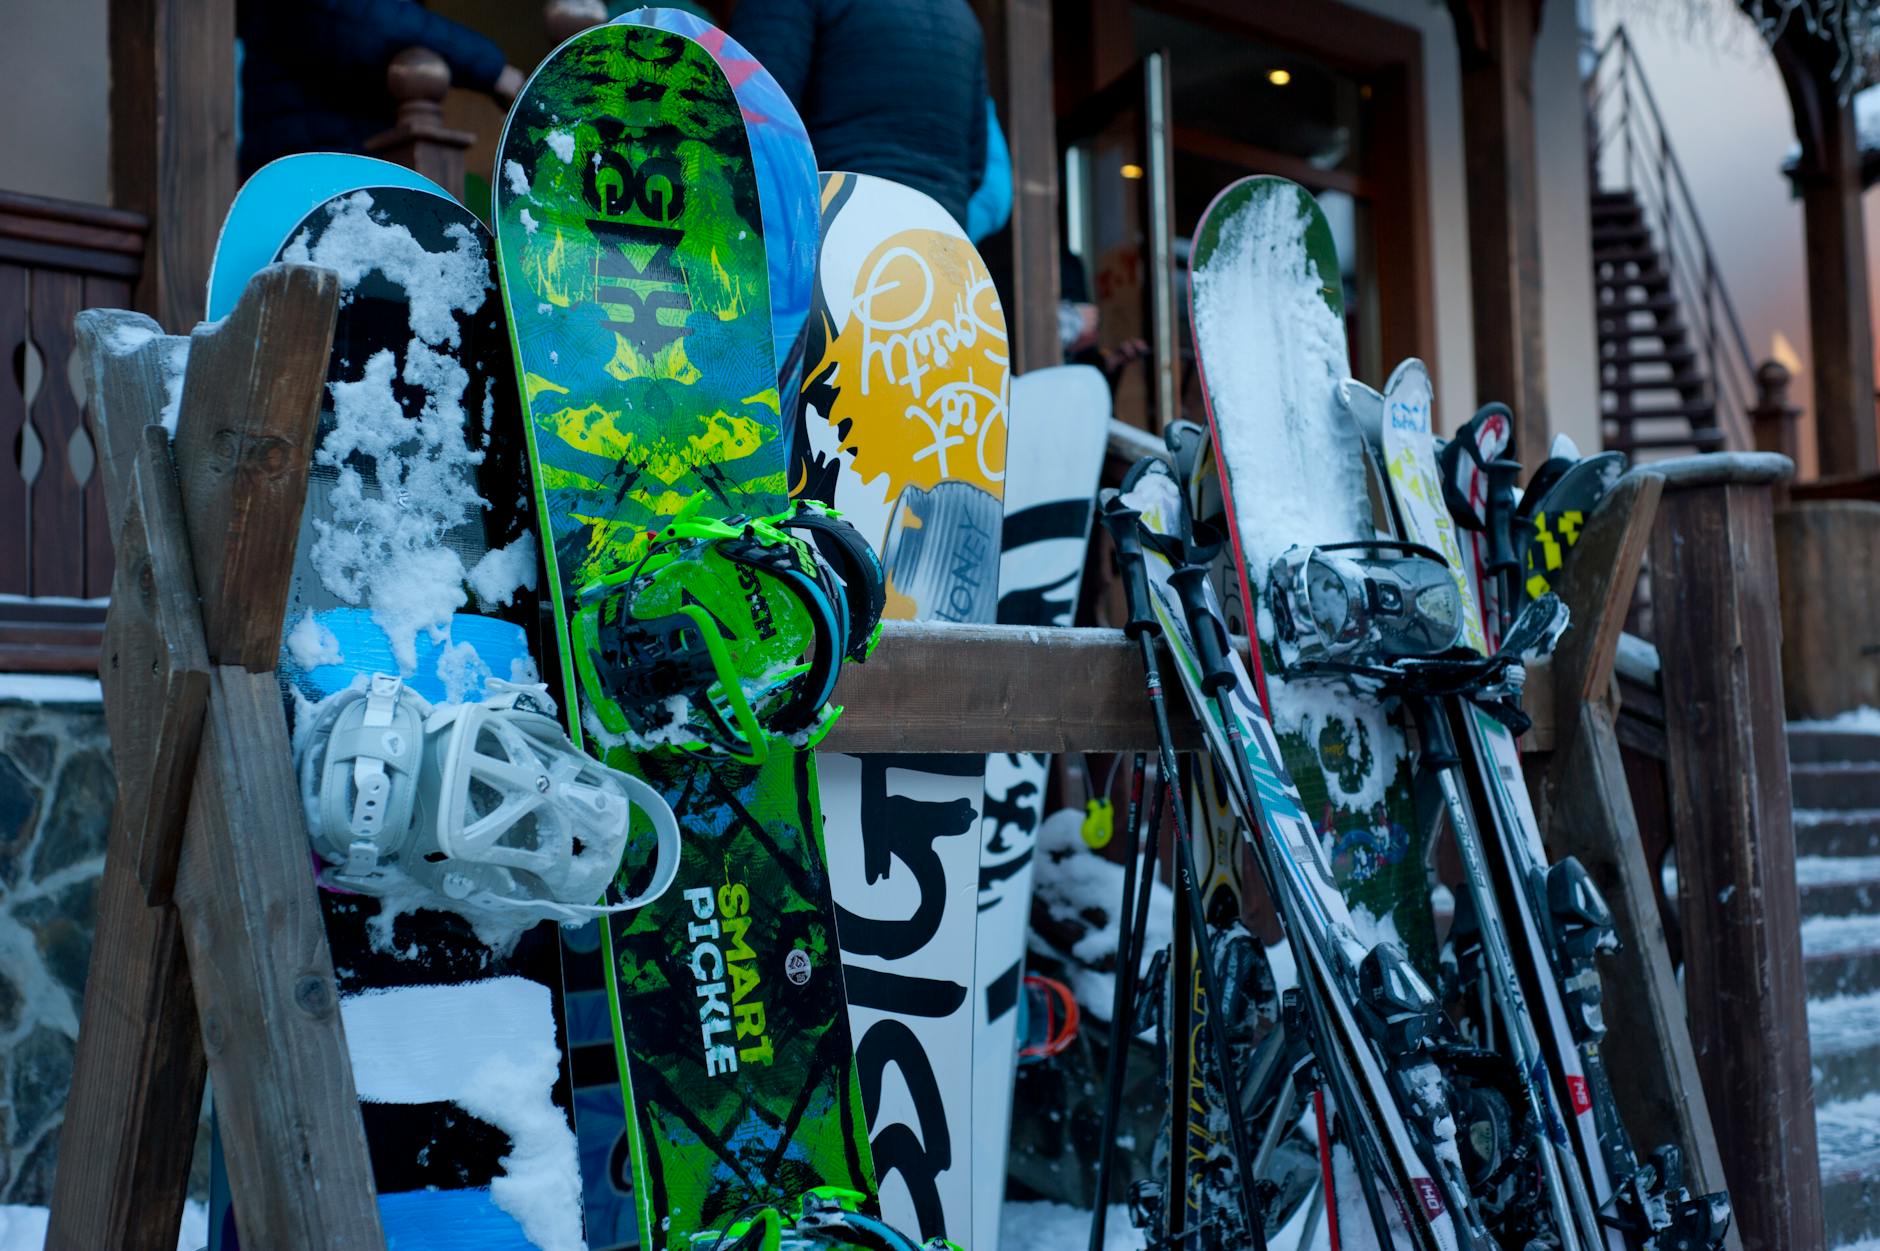
Choose options aligning with budget and goals: rental sets featuring interchangeable boots and adjustable bindings; private sessions help limit price surprises. Packages located inside the shop's gear room often include helmet, favorite items like a hooded shell, adjustable gloves, and a reliable goggle lens, with lift-tickets and add-ons completing the selection.
louis shares a personal plan becoming a simple, repeatable routine: after years on alpine routes, guidance becomes a steady influence on performance. This mindset opens options that balance ease and challenge, preserving freedom while respecting risks. Listen to sounds of wind and terrain; when cadence falters, pause and adjust stance. lets your instructor tailor drills; pair diagonal traverses with short ascents to build confidence. Inside the bag, favorite items like a hooded shell, adjustable gloves, and a reliable goggle lens contribute to long, steady progress.
Advanced cues come after comfort, and still, even when fatigue appears, the plan should pause to protect safety. Ensure a measured progression that grows gradually, avoiding overreach and maintaining focus on core techniques. The practical approach helps ensure consistent improvement, with clear milestones you can track over the next years.
Recommendation: pick an adjustable touring setup in a shorter size with a rocker profile, and ensure bindings match your boot sole; shop ahead to confirm stock and sizes on the day you head out.
On slopes, known comfort comes from fit. Ensure your hand position stays relaxed; choose poles that reach your chest when standing; a mitten tucked in your pocket helps heat on long climbs. A good setup uses an adjustable binding, a full-length climbing skin, and a balanced pack; heavy packs slow you down and throw you off rhythm.
Avid travelers typically choose an instructor-led route through known terrain; meet their leader at a known spot ahead of time; carry a phone charged, and share the route with a partner so someone knows your position. For mixed snow and rock, a rocker tip aids grip on soft sections; keep a full stance, and check boot size regularly.
In canada, known routes change by season; avid operators publish updates ahead, and shops stock load-bearing packs and adjustable bindings suited to long tours on steep slopes. A belle line of gear can reduce weight, preserving durability. If heavy packs are carried, choose a longer center to maintain balance. Your phone should stay ready; pocket items stay accessible; mitten and spare socks protect your skin against cold. Next, check rocker and full profile to decide what you will take next.
In canada, known routes shift with season; avid shops tailor gear to terrain, and shopping ahead helps you compare sizes and models. Typically, a lightweight, adjustable setup fits tight spots, while a sturdy pack loads without compromising reach. Your own prep matters: keep a spare mitten, a small pocket kit, and a charged phone handy to meet the group at the next spot and stay safe on varied slopes.
Begin with a concrete recommendation: agree on a pace and a descent plan with your team leader before leaving home; ensure everyone is aware of the route, potential hazards, and the signal to stop. Clear communication reduces missteps when terrain changes or visibility drops.
Equipment check covers alpine touring boards, solid bindings, and robust skins for ascent. Merino base layers plus a thicker midlayer keep warmth stable, then a windproof shell protects against bitey wind during winter sessions. The best combo balances ease of movement with moisture protection and durability.
Choosing the setup means weighing weight, height, and terrain. The best length supports head stability on steeper sections, while a wider waist improves flotation in thicker snow. Ensure the pair fits your boots snugly, and evaluate how weight and stiffness interact under load; under heavier packs, longer options can offer improved control.
On ascent, skins provide traction; practice transitions and maintain a steady cadence. A rhythm learned over seasons evolves, and trying to keep a relaxed, efficient style makes ascent easier, with ease increasing through repetition. Avid climbers often adopt a humble, methodical approach that reduces fatigue.
Renting within the season can be the best value, offered by shops and mountain centers. Check what’s included, such as skins, bindings, boots, and a suitable width; confirm bindings fit your boots and that the overall setup matches your preferred terrain. If you are an avid traveler, compare two or three options, prioritizing reliable after-sales support and fit.
Clothing and layering emphasize merino next to skin, paired with a thicker midlayer and a weatherproof shell. Head protection–beanie or hood–plus dexterous gloves keeps warmth while maintaining grip. Manage gear smartly on the move, keep feet dry, and choose socks that prevent hotspots during long climbs.
Safety and etiquette revolve around respect for others, keeping within sight, and communicating limits calmly. A humble attitude helps newcomers learn, while the experience of seasoned participants often offers practical cues that could boost efficiency and reduce risk. Awareness of avalanche risk stays essential during winter expeditions, even on popular routes.
Essentials include beacon, shovel, probe, and a compact first-aid kit; merino layers, a thicker midlayer, and a durable shell complete the kit. Until conditions shift, your ability to read terrain improves with each outing, becoming more natural as you gain experience. Your evolution in this winter pursuit depends on a curious mindset, consistent practice, and a willingness to learn from every trying session.
Verify credentials, insurance, and a clear communication plan before you depart. Describe the exact documents needed: current certifications, proof of insurance, and a designated contact such as david. Idea: confirm the plan in writing, note who monitors calls, and store the last emergency number in your pocket.
Validate credentials by requesting certifications, licenses, and current affiliations to a recognized body. Request proof of insurance including medical and liability coverage; confirm that the plan covers rescue expenses if needed. Note equipment checks: bindings dialed to boot size, boots snug, gloves in good condition. Ask for a dependable reference or a contact at the operator to verify reliability.
Establish a stepwise plan: pre-check, on-mountain signals, and a meeting spot. Choose a single communication channel, such as text messages or a dedicated app, and agree on a backup if signals drop. Document the approach in writing, including who monitors what, who might take the lead, and how to proceed if weather worsens.
Do a quick equipment check: bindings adjusted, boots tightened, gloves intact. Describe the boundary conditions for use on groomers and wild sections; avoid going beyond the park limits unless a trained guide approves.
Ultimately, solid prep keeps risk in check and reduces the chance a day is moved into danger. Some situations demand a quick rethink since flexibility matters; listen, stay aware, and take actions that move the dream of a safe day closer again. You should think ahead, assess terrain, and adjust.
Start by confirming the day ahead; ask about which routes are groomed, the known risks, and any barrier you may meet.
Discuss clothing and gear: fleece under a shell, moisture-wicking layers, and a rental option that fits your budget.
If nerves rise, request a patient start on easier sections; you can learn to pace, and the rewards become clear. When you started on a longer run, you may feel more confident quickly.
Ask about planning toward advanced thresholds: how to chart a progress path, the option to adjust on the fly, and known techniques.
Meet point and signaling: agree on a meeting location ahead of time; learn signals while pace changes or mood shifts, maybe a simple tap to communicate you need a pause.
In canada, outdoor conditions vary; ask whether everything you need to know is covered, review grooming status, popular corridors, and barrier rules that separate safe zones from risky areas.
Invest in preparation: pack enough snacks, water, plus a fleece extra layer; bring a friend along if nervous, tail of the group helps you stay within a comfortable pace.
Rent an avalanche safety trio – a beacon (Ortovox), a shovel, and a probe – and verify operation in shops before departure; test battery life, run a quick range check, and note the model. If a unit fails, exchange immediately; youd avoid delays when the mountains call.
Clothing: wool base layer, insulating mid-layer, windproof outer shell, socks in wool or synthetic, gloves, hat, and sunglasses; prioritize breathable fabrics and layered options to adapt to altitude going and weather swings.
Skins and boots setup: skin length and cut matched to skis; ensure glue is fresh, tail clips secure; pair with touring boots that match tech bindings; carry spare skin tape and a small repair kit. Note: a malfunctioning beacon can push you backwards from the group; test thoroughly.
Avalanche gear: Ortovox transceiver with spare batteries, a shovel, and a probe; pack these within easy reach; perform a quick in-pack check and confirm range.
Backpack and comfort: 30–40 liter pack, waist belt, hydration tube, energy bars; keep extra layers accessible; plan for a potential 2–3 hour ascent with breaks.
Navigation and safety: map, compass, GPS device, and a charged power bank; share route details at the trailhead; keep a whistle and a compact first-aid kit in the top pocket.
Maintenance and extras: wax, scraper, edge tuner, spare screws, multi-tool; elastic bands to secure skins; tape for repairs; headlamp with extra batteries.
Rental vs purchase: cost and investment choices vary; daily beacon rental often 8–12 EUR, shovel 3–5 EUR, probe 3–6 EUR, skins 8–15 EUR; total around 25–40 EUR per day; going longer seasons or recurring trips often justify owning the core items; shops offer bundles or seasonal deals; options include buying used gear in good condition to reduce cost and reach value; including Ortovox gear in bundles can ease decision; lets you start with rental to test fit and performance, then move to ownership if youd go often; remember that buying quality gear increases reliability in difficult alpine moments; test gear in shops or at home to ensure it fits well; started with a basic kit, then expand as you gain confidence; face the cost early to avoid friction later; youd benefit from a phased approach; David from the shop tells staff that shopping used gear offers excellent value when inventory is in good condition; remember to inspect straps, buckles, and cables; together options let you tailor setups across Alps mountains; This mean approach keeps budgeting practical and helps you reach goals while staying sensible about costs.
Generally, select boards 5–15 cm shorter than body height; this improves uphill cadence and handling, especially on steep slopes and when a backpack is loaded. If you seek more stability on descents, or in deep snow, move toward height or slightly longer.
Length
Shorter boards yield quicker turning and lighter feel during climbs; longer options offer steadier behavior at speed and better float in powder. Choose within the 5–15 cm window based on weight, skill, and terrain priority. Youll notice the benefit most on narrow gullies and long ascents.
A light camber underfoot with tip rocker reduces effort on ascent while keeping edge control on firm sections. A mild to moderate tip-tail rocker boosts flotation in layers of powder without sacrificing too much grip on crusts. The balance between camber and rocker determines how quickly you respond on changing slope textures.
Waist measurements typically range 80–110 mm at the middle section. Narrower waists excel on hardpack moves, while wider waists improve buoyancy in soft snow. Weight carried in a backpack shifts the feel; layer the system accordingly and widen if you expect frequent deep layer days. Waist choice also influences how your pairs of bindings sit on the mounting zone.
Check boot sole type and binding interface. Tech bindings require boots with compatible inserts; frame bindings (AT) accept multi-sole patterns. GripWalk soles appear in many setups, yet always verify compatibility before purchase. Adjustable bindings offer quick hand adjustments across sizes; this lets a single setup fit multiple boot pairs, offering long-term versatility.
Pack compatibility matters: ensure the overall pairing fits your soft shell layers and backpack load. Knowledge of boot midfoot shape and sole thickness helps in choosing a stable mounting pattern, which makes long approaches more comfortable. Avalanches risk exists, so choosing a responsive length helps you react quickly. Youll notice this during long approaches on heli trips, where gear reliability matters.
Stay in a tight line behind the front leader; remain in sight of the next skier, and adjust pace to the slower member when trail conditions demand it, especially hard ice or crust.
Before descent, turn on transceivers, verify signal, and check battery levels. First checks ensure readiness. Place a shovel in an aluminum backpack; ensure hooded layers cover core, and keep a mitten handy for wind exposure. Think through skin protection and choose lightweight gear to reduce fatigue; using simple checks helps adventures stay on track.
Choosing rental gear requires fit, protection, and cost awareness; invest in a plan that matches terrain, weather, and travel styles. The article notes that solid equipment lowers risk and boosts experience, while costs are kept reasonable by comparing options and avoiding unnecessary upgrades. This approach keeps the team safer and reduces likely errors.
Etiquette on slopes includes staying near the group when traversing, yielding to others on narrow sections, and signaling intent during turns via eye contact or a quick hand motion. If traveling alongside a friend, keep pace together. Keep to tracks and avoid crowding, since respect reduces risk.
| Action | Rationale |
|---|---|
| Pre-descent equipment check | transceivers active, shovel secured, battery health |
| Line integrity | stay in consistent spacing; reduces meetups and increases safety |
| Route awareness | tracks visibility; avoids hazardous zones |
| Communication signals | eye contact or hand signals when taking turns |

Leave a request and we'll send a personal offer for your dates. One window instead of ten tabs — gear, transfer and car sorted and confirmed in advance.